Taking the road less traveled (in its most literal sense) is heavily encouraged among people in the overlanding community. Danell Lynn said that she had driven under 2,000 miles on paved roads during her 30,000 mile trip around the US. Most of the 2,000 miles on interstate were incurred in order to get to Overland Expo on time. Initially, I wondered why people would be so averse to driving on interstates and the like. Wasn’t the point to get to your destination?
Having grown up in the Midwest, I can see why avoiding unpaved roads through unending farmland might be a reasonable choice. Driving through corn fields is boring at 65 miles per hour. It’s just as mind-numbing driving through it at 35 miles per hour. I have since learned that not all unpaved roads are meant to access fields upon fields of monoculture agriculture.
It's a fallacy to associate off road with boring. The truth of the matter is that off roading can be borderline terrifying! By terrifying, I mean exhilarating for those worried parents thinking off roading is a call to premature death. Who doesn’t want to scream “OH MY GOD!” (in a good way) on silent repeat while driving?
As fate would have it, my first off road experience happened as I was leaving the Overland Expo. The GPS somehow decided that taking a 7 mile “shortcut” through the Coconino National Forest was the best route. The road had a sign warning, “Road is not maintained, high clearance vehicles only”. How did Garmin know I could handle that road?! I thought about it and decided this would be the perfect opportunity to discover what all those overlanders were talking about.
The “shortcut” might have indeed worked out to be a shortcut had I been able to drive those 7 miles faster than 15 miles an hour. Luckily, the road was no worse than a Minnesotan road a few winters overdue for repair. During the whole experience, I only saw one other truck which blasted by me going the other direction. I’m still not sure if going 40+ mph on that road was a good idea even with off road suspensions. But, it gave me confidence that if that truck didn’t think the road was bad, it probably wasn’t.

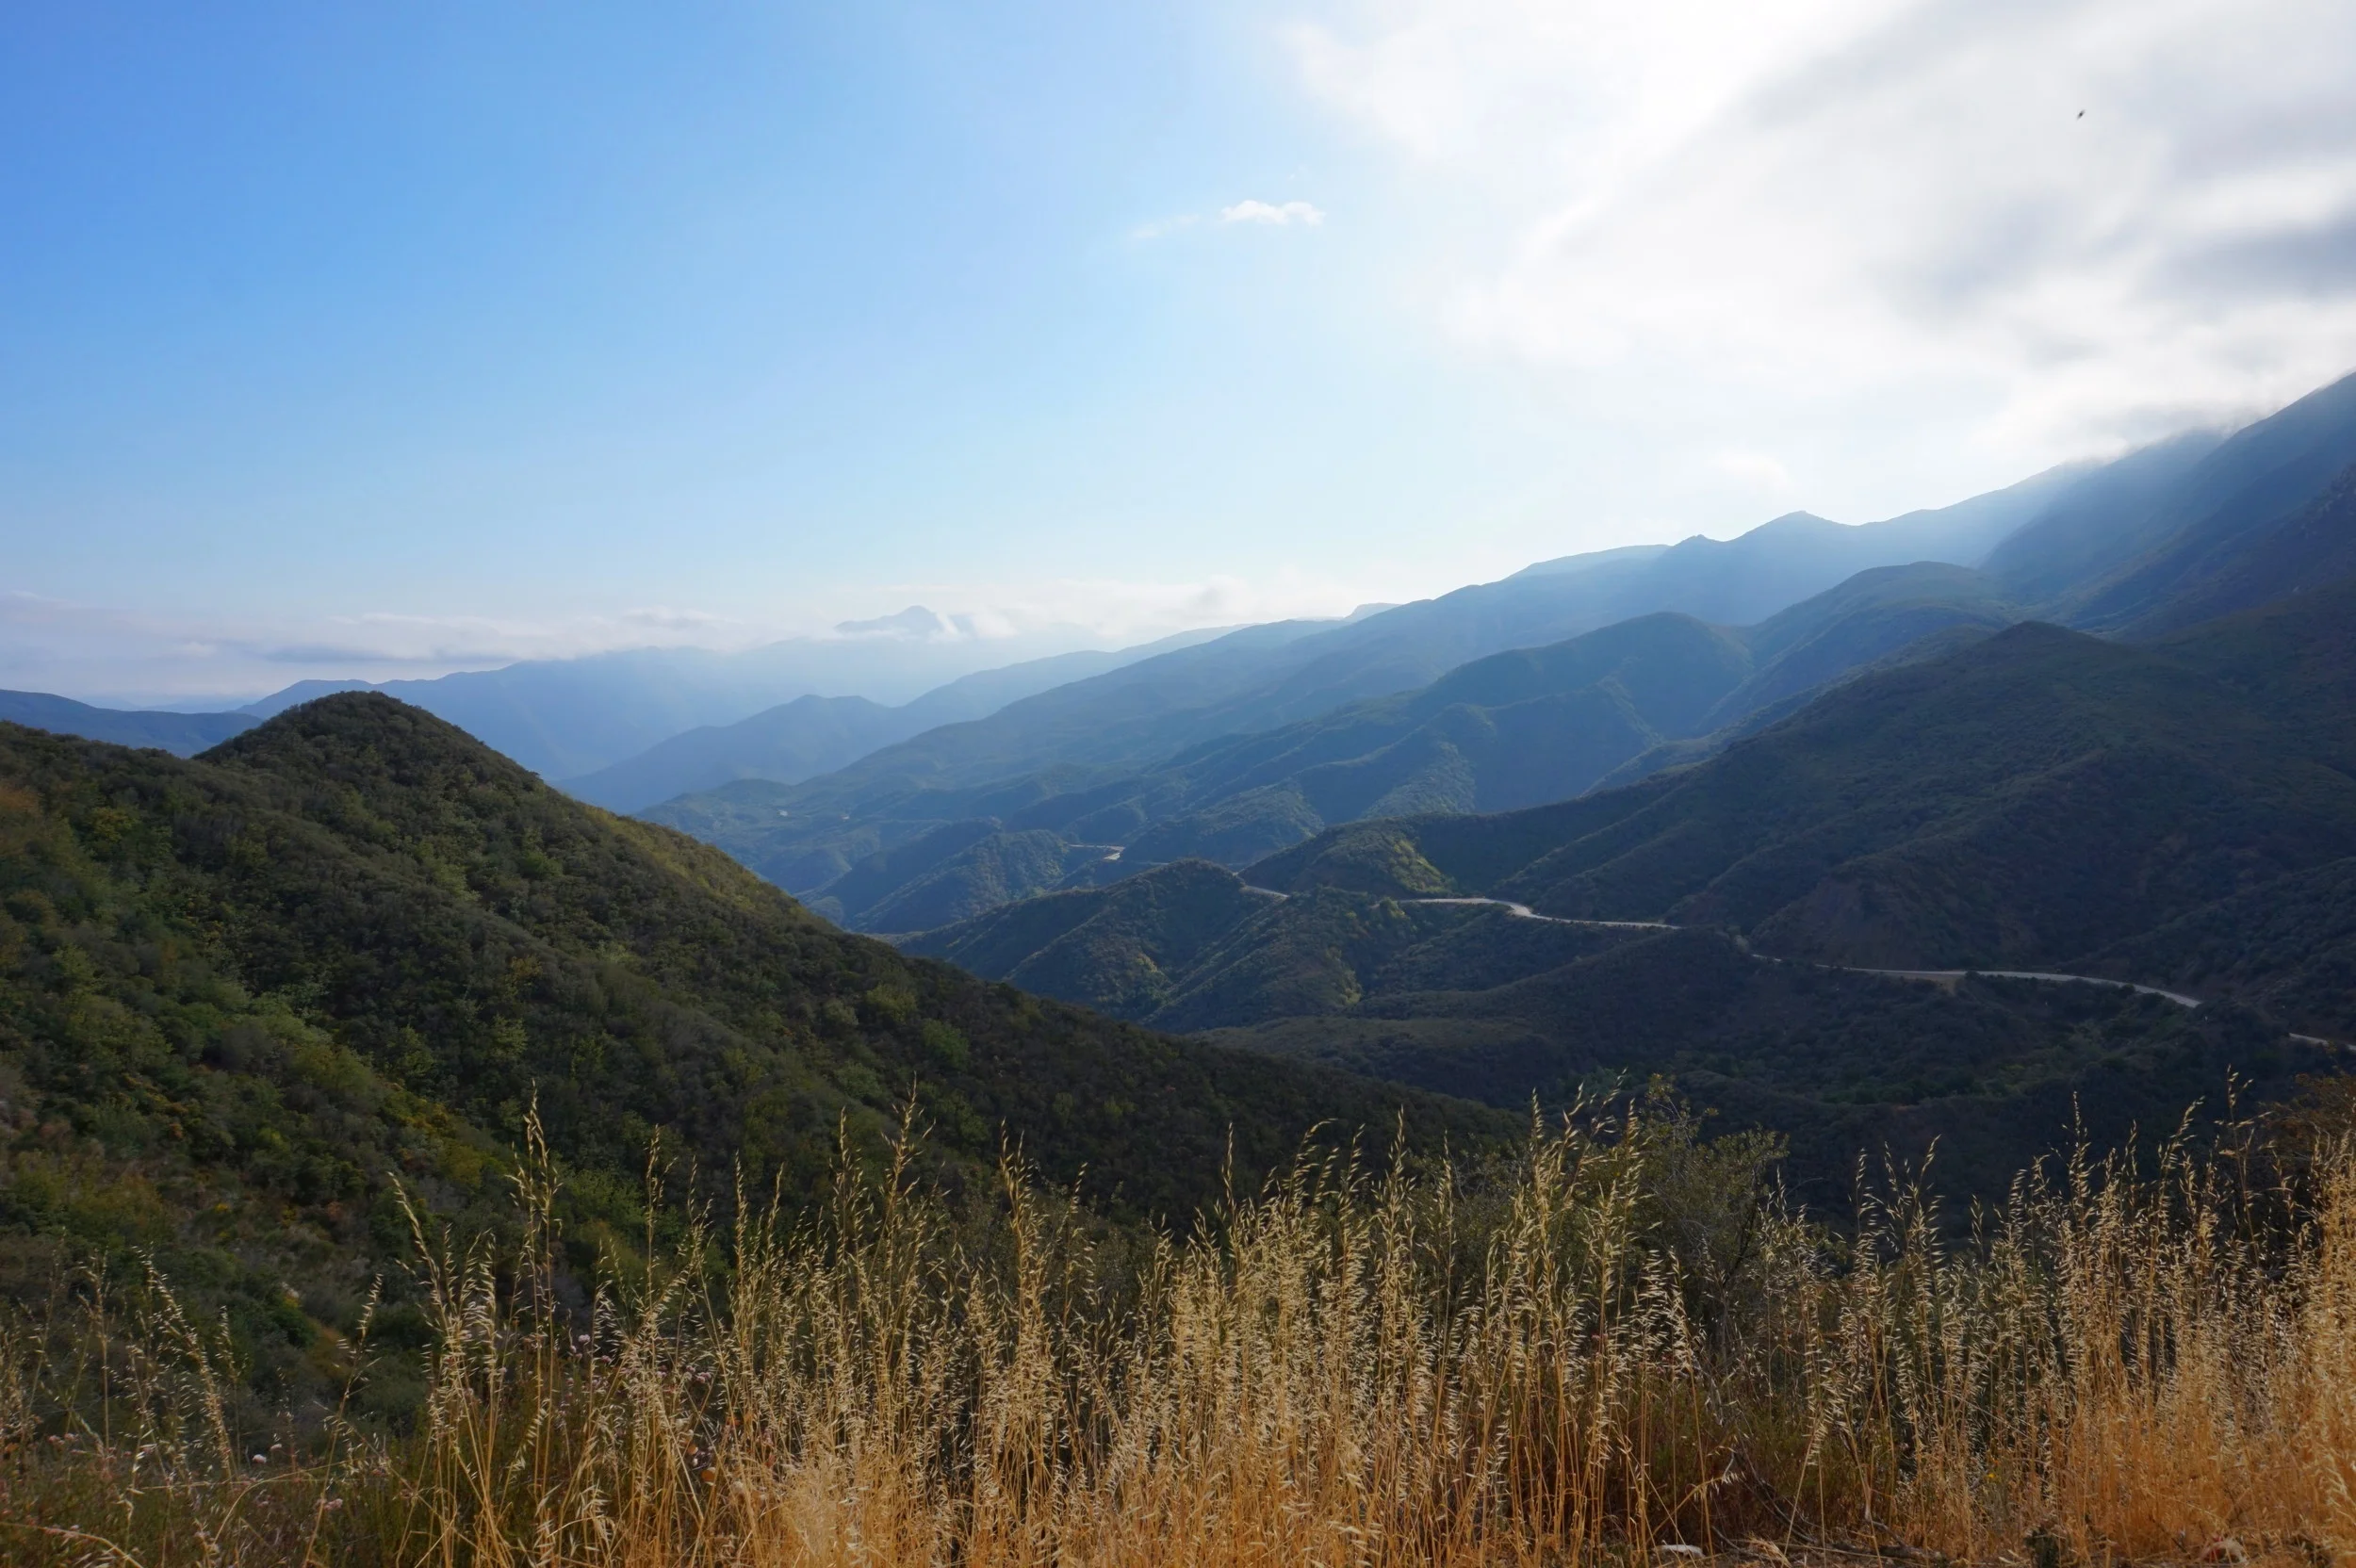
View from the "shortcut"
From that experience and several other times I’ve gone off road since, I have discovered that what overlanders talk about isn’t something they say just because it’s the “cool thing to do”. Being able to go off road allows you to find and enjoy fascinating places without the annoyance of the tourist mob. Peace, quiet, and a great view is what FREE gets you out here.
It’s time to get off the beaten path!

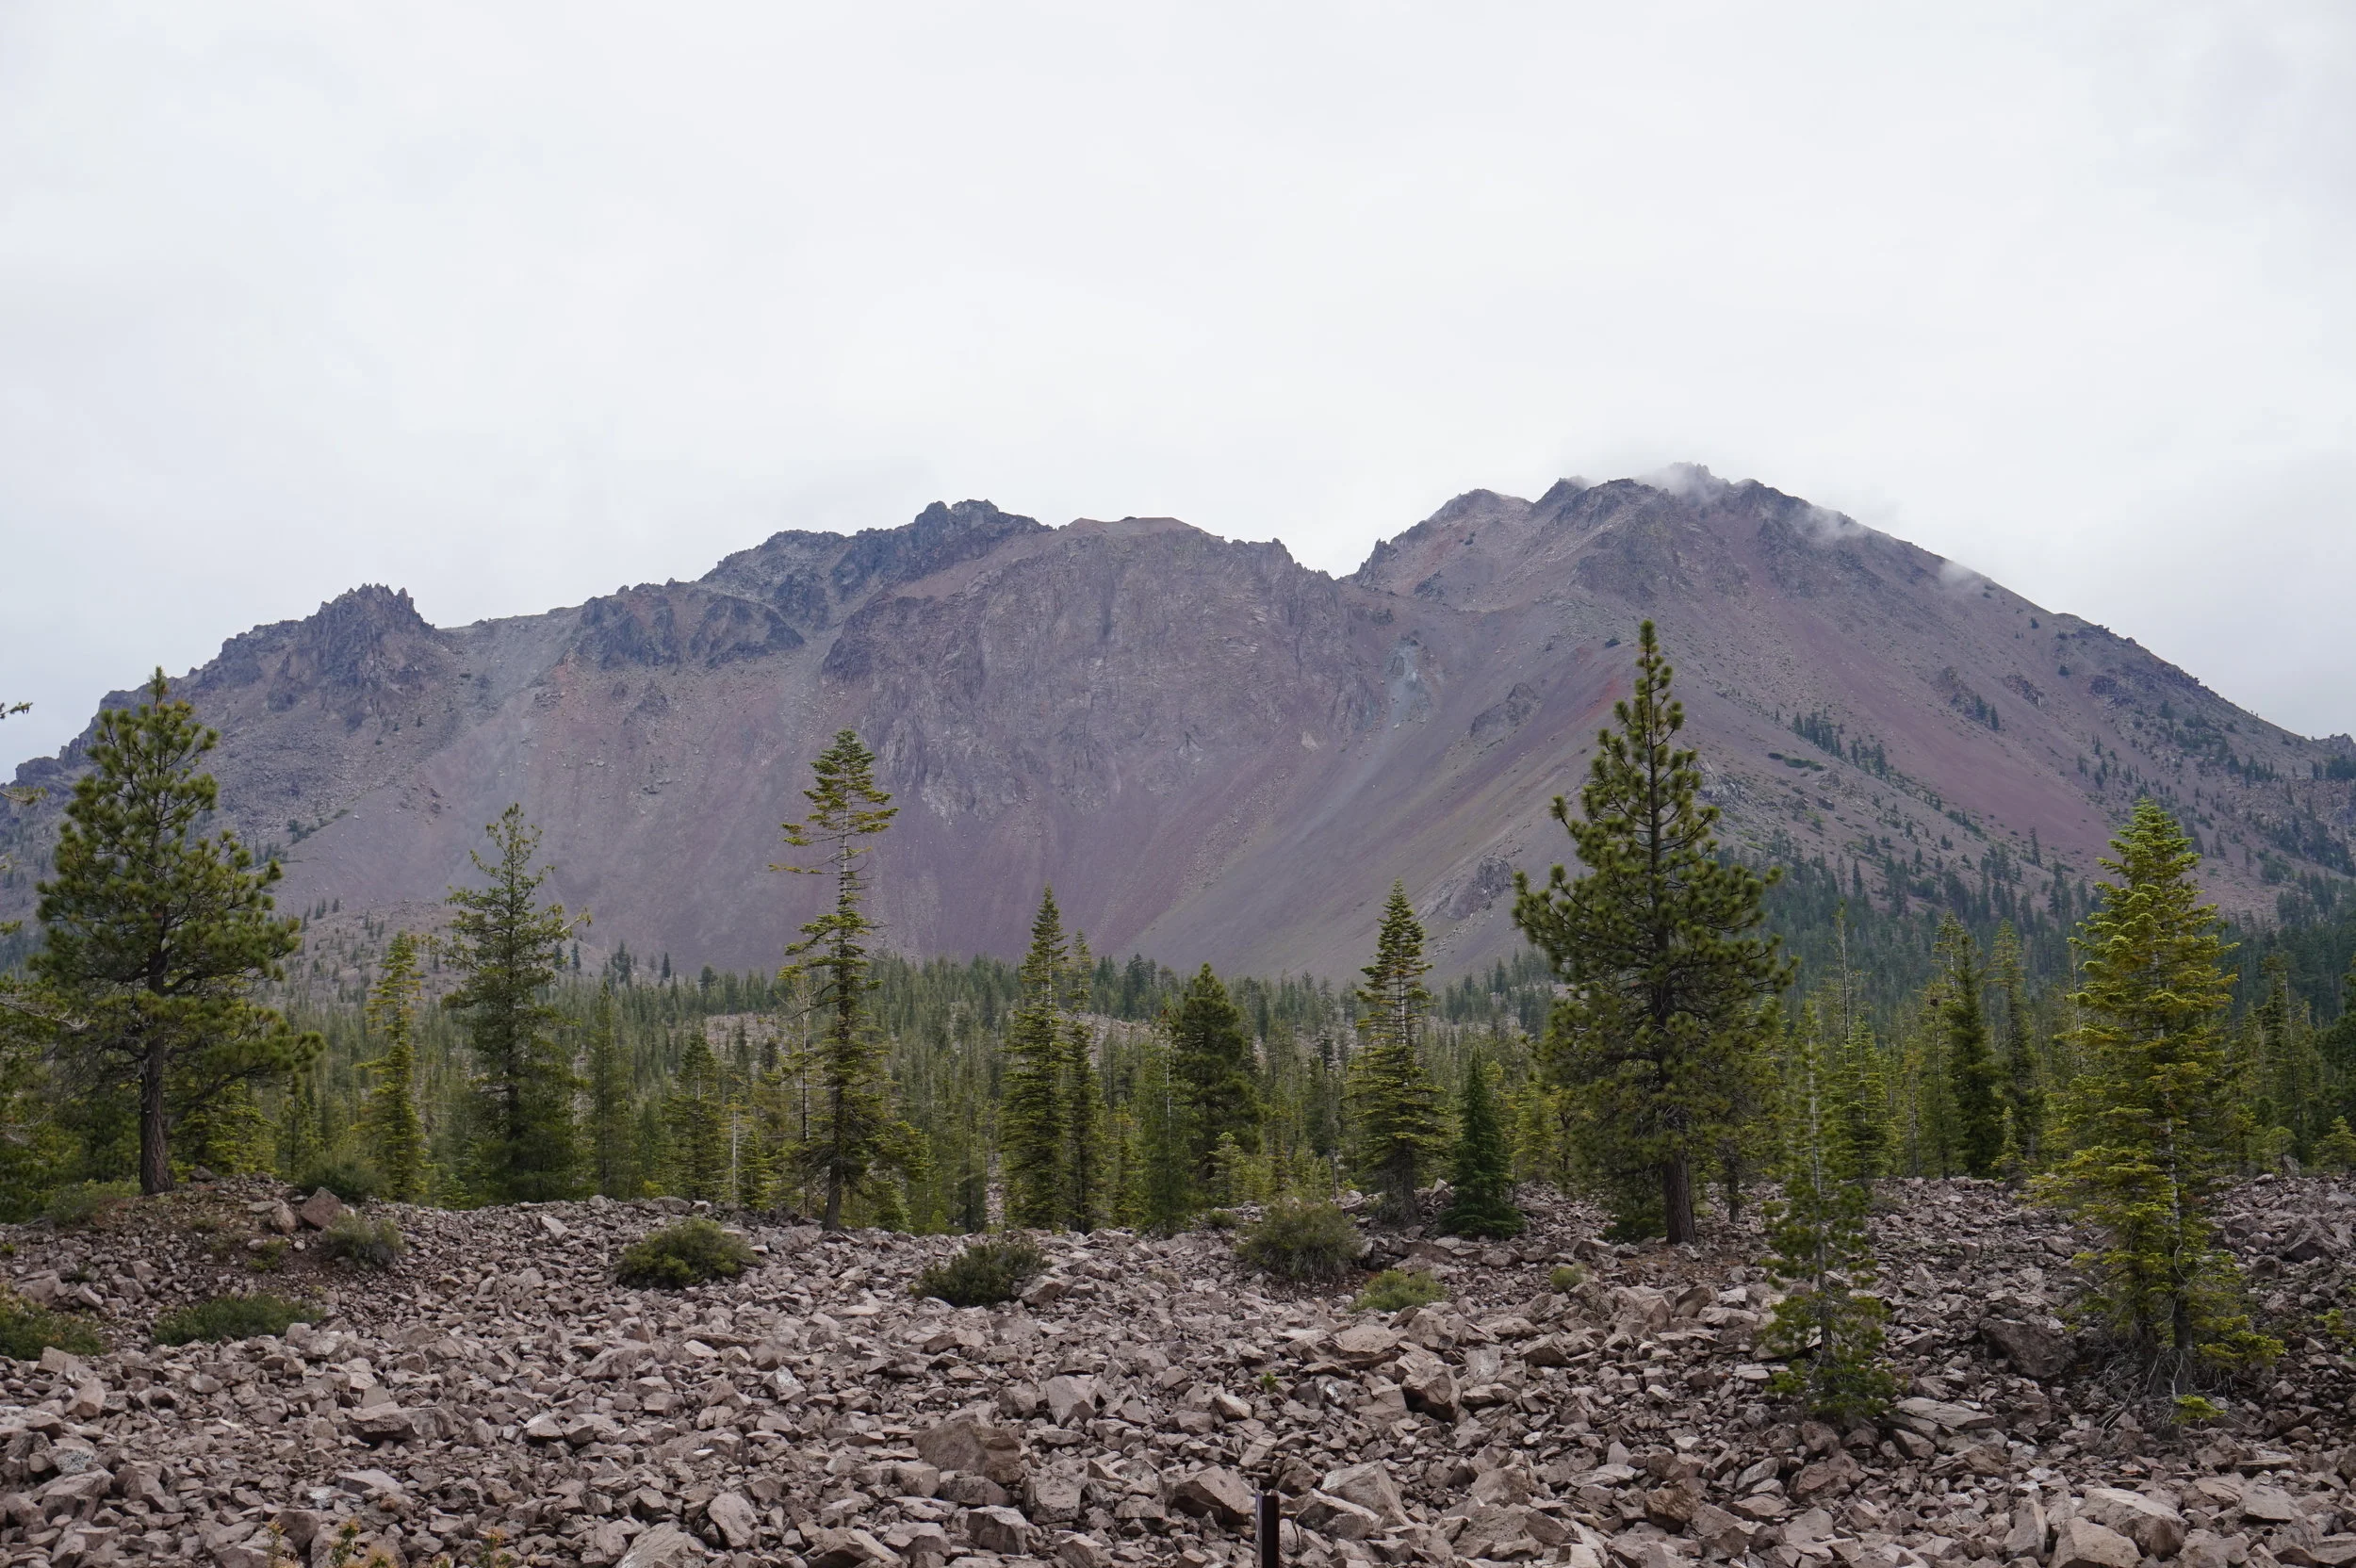
View at breakfast (Coconino National Forest, AZ)

Water Canyon campground (Cibola National Forest, NM)

View at Dinner (Forest road 443, Lincoln National Forest, NM)
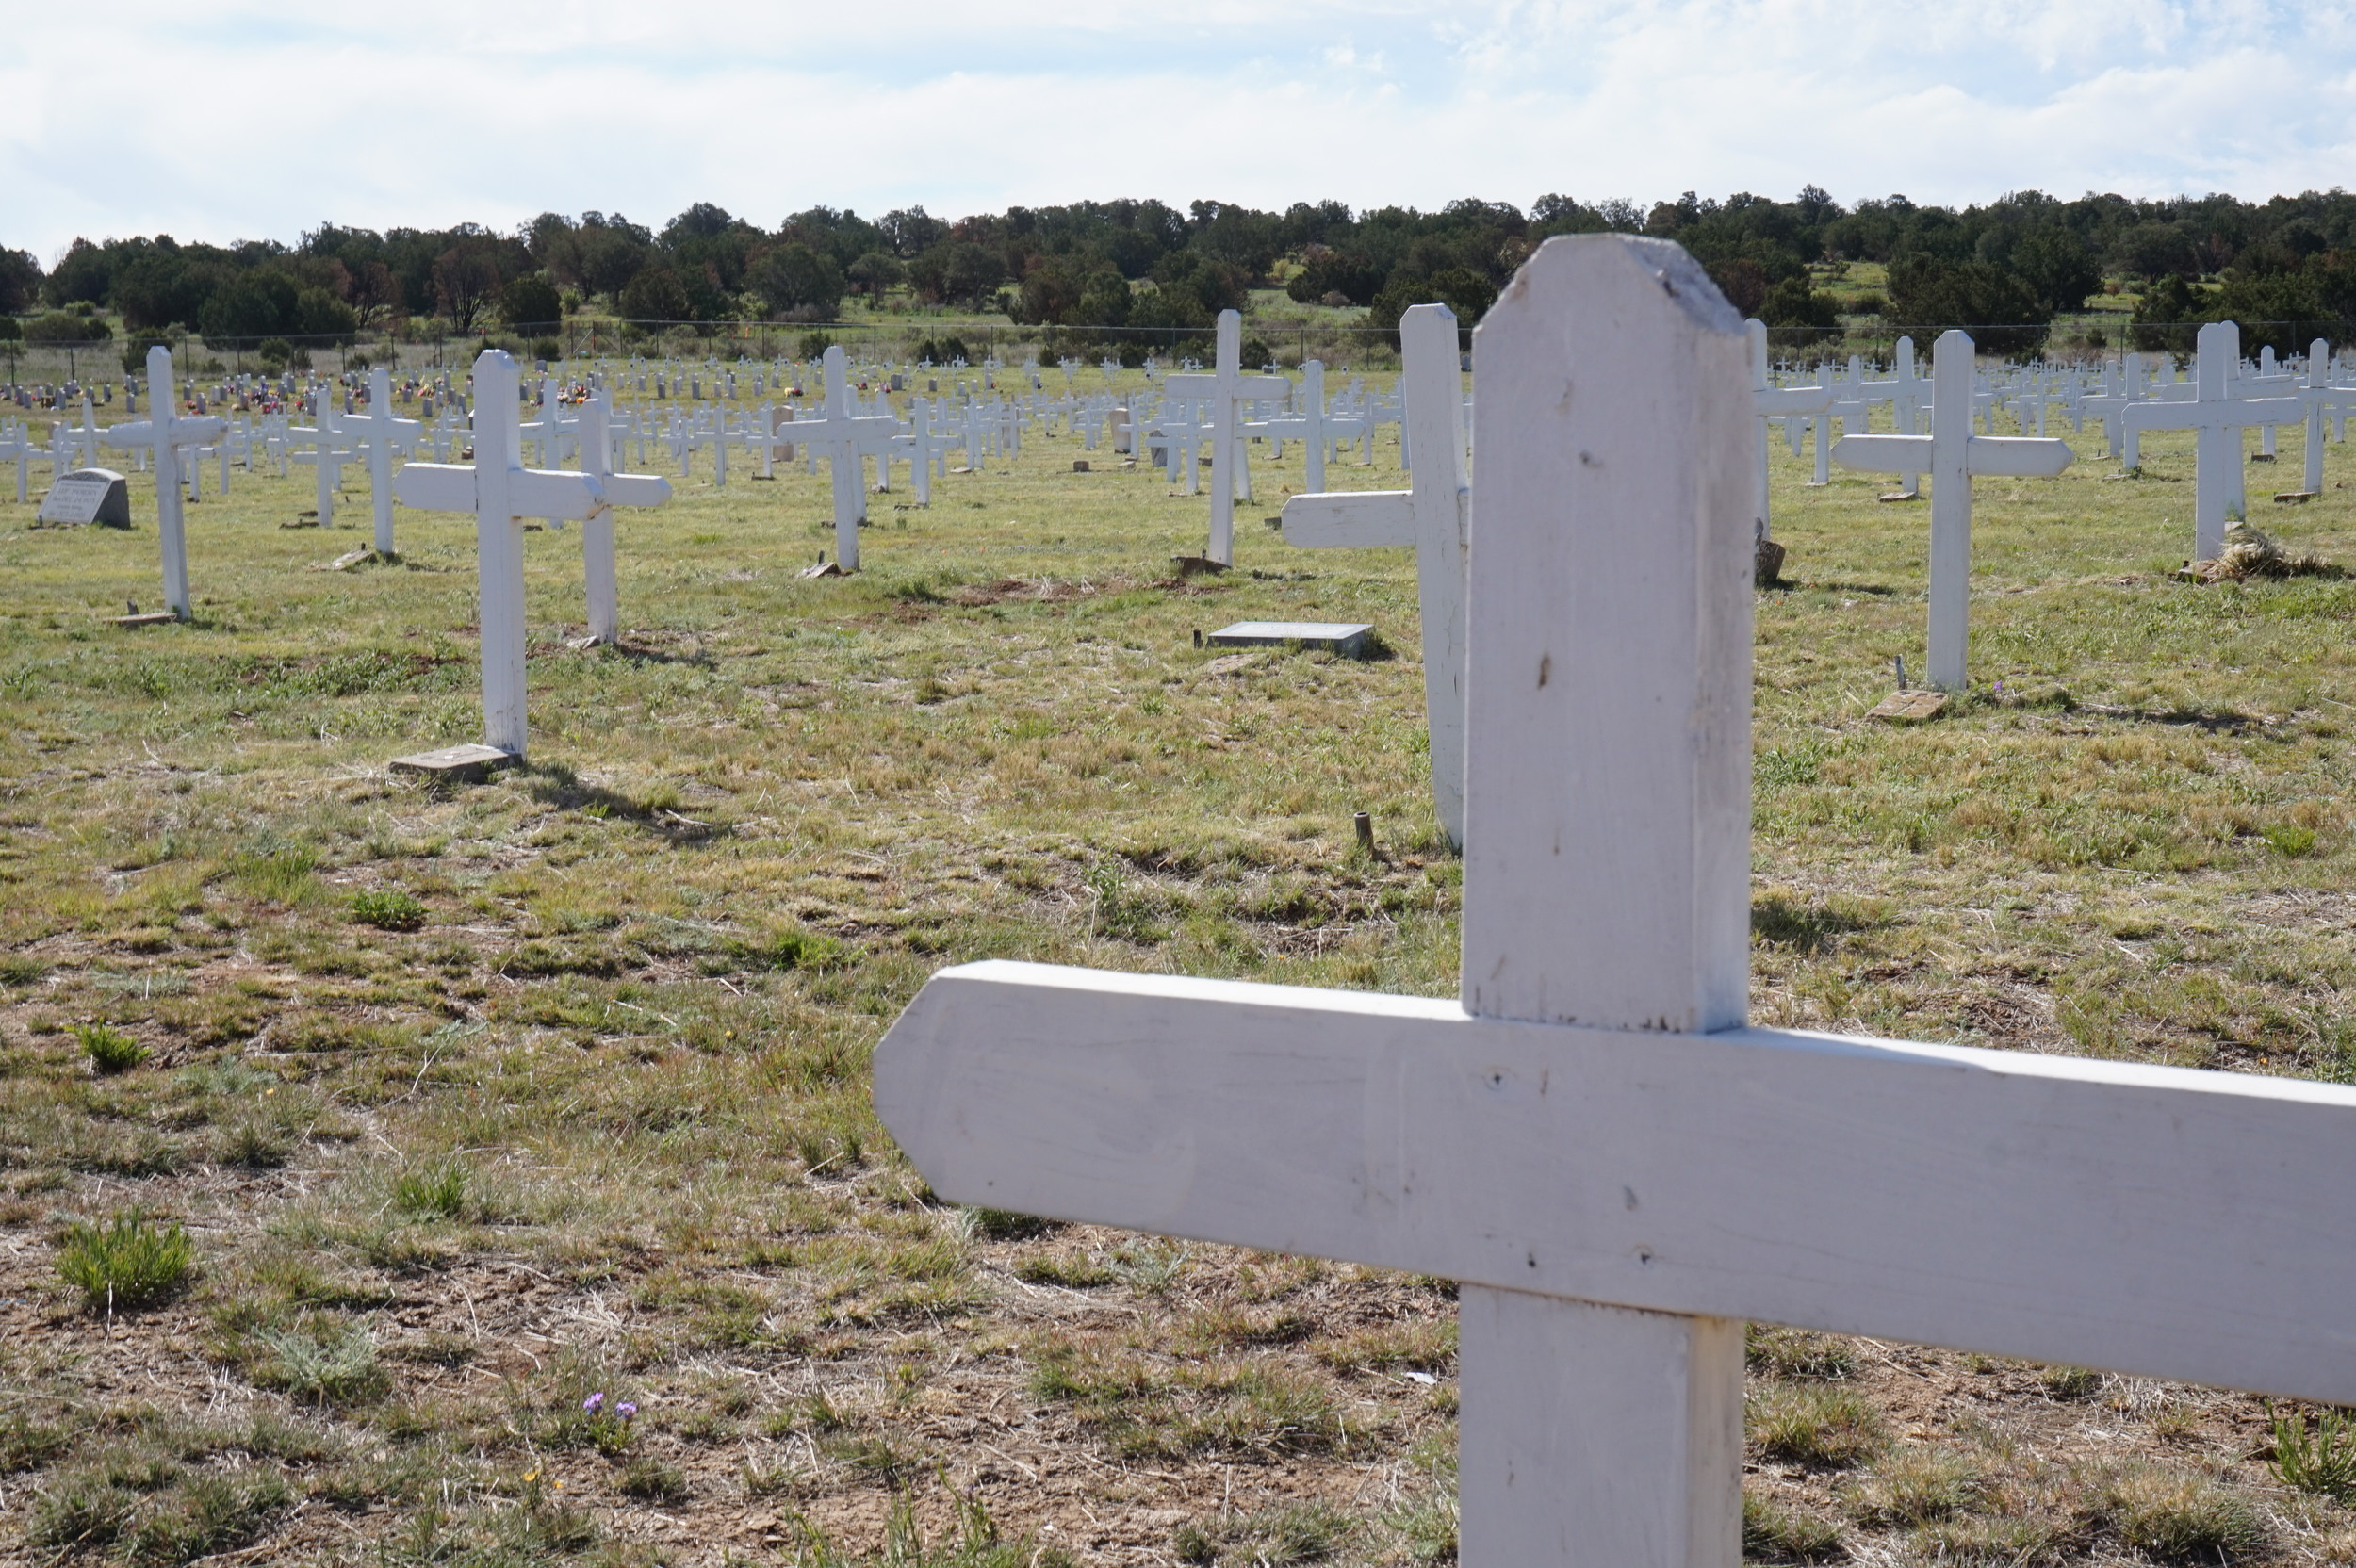
Merchant and Marines Military Cemetary, Fort Stanton, NM (in the middle of nowhere)